



- Store vehicles in your garage
- Get product recommendations
- Easily find products and accessories

150W AC to DC Conversion Kit for Yamaha YZ 250 1999-2027 | YZ 250 X 2016-2027 | OEM# 5CU-85560-20-00 / 1P8-85540-00-00
RMSTATOR
SKU: RMS900-108980
Out of stock
RMSTATOR
150W AC to DC Conversion Kit for Yamaha YZ 250 1999-2027 | YZ 250 X 2016-2027 | OEM# 5CU-85560-20-00 / 1P8-85540-00-00
Sold out
Close
FITMENT WARNING:
Close
Close
Shop By Vehicle
$499.89
Please note: This kit includes everything you need for the conversion other than a battery. You will need to source a battery from another source to complete the installation.
Read more
150W AC to DC Conversion Kit for Yamaha YZ 250 1999-2027 | YZ 250 X 2016-2027 | OEM# 5CU-85560-20-00 / 1P8-85540-00-00
Sold out



Details
Details
Brand new aftermarket 150W AC to DC Conversion Kit
This kit is designed to fully convert your YZ250 to a 150 watt true DC charging and ignition system. It includes everything you need for the conversion other than a battery.
Your ignition system will now be battery powered and offer easier starting in hot and cold weather. You will have 150 watts of charging power to your battery, and can run any 12V accessories you’d like including lighting, cooling fan, GPS, phone charger, heated gear, electric start kits, and more!
- The quality exceeds the OEM equipment
- Connectors included
- All products shipped are tested
We have even included the opposite connector (main harness side) as we know these are often melted / corroded / defective and a major cause of repetitive electrical issues.
All item pictures are accurate; if in doubt, do not hesitate to compare our item to your original part.
Stator:
- Highest grade of lamination materials
- Highest grade of copper winding, resistant to 200 degrees Celsius
- Rubber grommet included
- Back Plate included
- Pick up pulsar coil included
Voltage Regulator Rectifier:
- No assembly required
- Higher grade of electric components
CDI Box:
- Provides the optimal output for your ride
- Tested on vehicle
- OEM-grade electronic components and printed circuit boards for long-term reliability and performance
Flywheel Puller:
- 27 mm x 1.0 left hand male
- Includes crankshaft thread protector cap
Specifications
Specifications
Voltage Regulator Rectifier:
Dimensions:
Width: 50.9 mm and 79 mm
Length: 53.7 mm
Height: 22.3 mm
Wires length: 250 mm
Distance between fixation holes center to center: 62 mm
Other specifications:
Number of plugs: 1
Number of pins: 5
Number of wires: 5
Minimum Charging Voltage: 14.5 V +/- 0.5 V
Maximum Charging Current: 50 A / 500 W
Open Circuit Voltage: < 15 V
Operation Temperature: -20°C to 85°C
Stator:
Dimensions:
Interior diameter: 28 mm
Exterior diameter: 60 mm
Thickness: 16 mm
Length of wires stator to grommet: 32 mm
Length of wires grommet to plug: 380 mm and 400 mm
Other specifications:
Number of wires: 7
Number of plugs: 2
Number of pins: 7
Number of poles: 4
Wire to wire resistance:
Alternator: Yellow to Yellow = 1.4 ohms +/-20%
Alternator: White to White = 1.4 ohms +/-20%
Alternator: Yellow or White to ground = O.L
Pickup: White/Blue to White/Red = 302 ohms +/-20%
The Black wire is grounded to the back plate.
CDI Box:
Dimensions:
Height: 70 mm
Length: 58 mm
Width: 20 mm
Other specifications:
Number of plugs: 2
Number of pins: 6
Please note that: The only real way to test your CDI box is to swap it out with another known good unit from the same year / make / model. Because of this, we recommend that you rule everything else out before replacing the CDI box.
Handlebar Switch:
Functions:
Lights: Off / Low / High
Kill Switch: On / Off
Other specifications:
Wire Length: 430 mm
Charging Harness:
Wires Length: 430 mm and 700 mm
Number of plugs: 3
Number of pins: 14
Handlebar Switch Harness:
Wires Length: 350 mm, 560 mm, and 1050 mm
Number of plugs: 2
Number of pins: 10
Flywheel Puller:
Specifications:
Length: 50 mm
Exterior Diameter: 27 mm
Interior Diameter: 16 mm
Exterior Diameter Center Housing: 27 mm
Interchange Part Nº
Interchange Part Nº
-
Stator:
5CU-85560-00-00
5CU-85560-10-00
5CU-85560-20-00
5CU-85560-22-00
CDI Box:
1P8-85540-00-00
1P8-85540-01-00
1P8-85540-02-00
1P8-85540-03-00
Installation
Installation
Before installing your new 150W AC to DC Conversion Kit
- Check the AC output of the stator
- Replace any burned or corroded connectors on stator and regulator rectifier
- Check and repair any melted wiring
- Use hi-temp dielectric grease on all connectors
The kit components might have a different wire color code than your original part.
All the wires are installed in the correct order; please do not change any of the wiring configurations.
Stator:
When bolting stator in, always use locking compound.
If our stator includes a pickup coil, always make sure the air gap is correct upon installation; we suggest as close as possible but no less than 0.010".
Flywheel Puller:
Removing a Powersport Vehicle's Flywheel / Rotor:
How it Works
Flywheel Pullers are very versatile engine service tools and are a must in every toolbox. Our large selection of best selling rotor and flywheel pullers fit just about any motorcycle or ATV. Flywheel pullers are very simple to use, having only an outer body to hold the flywheel and a screw to push on the crankshaft. Some are even simpler, having only a bolt to thread into the flywheel. A taper holds the flywheel or rotor and the crankshaft together. The flywheel is secured to the shaft by applying torque to the fixing bolt.
An Important Component to use
Many flywheel or rotor puller tools will include a small cap. This is a crankshaft thread protector, and should always be used if it is included with the puller. You slip this cap onto the end of the inner piece of the puller which presses against the tip of the crankshaft. This keeps the fine threads from being stripped or damaged while removing the flywheel or rotor.
Actions to Avoid
Most of the time, removing a flywheel or rotor is painless. But sometimes corrosion, over-torquing the fixing bolt or heat-cycling can give you a hard time removing the flywheel. We too often see mechanics use a larger breaker bar or air impact tools to ease the flywheel off. These two techniques will damage the flywheel, the flywheel puller or the crank. Avoid using them if you want to keep it cheap.
Tips to break a stuck flywheel loose:
Torque Wrench
How do you know if it's stuck? You simply have to set your torque wrench to 50 ft-lbs and try to ease the flywheel off. If the flywheel is not stuck, you should be able to remove it with even less torque than this. If it is stuck, don't use more torque or you might break your wrench.
Ball Peen Hammer
If 50 ft-lbs does not do the trick, go fetch something like a 12 or 16 oz ball peen hammer. Hit the end of the flywheel puller with a medium blow. Many times, the shock you create will successfully remove your flywheel. Be prepared to catch the flywheel since the shock of the hammer can make the flywheel jump off. Once again, getting into that situation will be pricey. And don't forget your safety glasses.
Propane Torch
The hammer is not a be-all, end-all solution. Sometimes, you will have to find something more powerful, and that's where the propane torch comes in. As a last resort solution, the heat should expand the flywheel but not the crank, since it is too massive to expand as fast. That way, the flywheel will become looser and will come off easier.
Important Security Tips: In order to not set fire to your garage, your vehicle or yourself, certain precautions are necessary prior to heating the flywheel:
- Clean any oil or flammable liquids off the flywheel;
- Make sure your work area is free of any flammable liquids and that you work in a well ventilated area;
- Make sure to remove the gas tank, and set it aside at a safe distance.
Make sure the flame of your torch is focused, and heat only the center of the flywheel. This is due to the fact that some flywheels use adhesive or other fixing compounds to locate the magnets in the rim that can be damaged by concentrated heat. Here again, the wheel might fall off the crank, so be prepared to catch it. And remember that you just heated it, so make sure you can catch it without burning yourself.
With these tips and techniques, you are now equipped to handle any stuck flywheel without throwing your flywheel puller at it; unless you have a habit of working with machines that have been in a lake for months!
Warning:
Risk of electric shock. Disconnect the battery before servicing.
Ensure proper installation by a qualified technician to avoid malfunction.
Vehicle Fitments
Vehicle Fitments
Vehicle Fitments
Let customers speak for us

Doug B
Worked perfectly with my Seadoo 150 Speedster. Prompt delivery.
Voltage Regulator for Sea-Doo 1500 GTX 4-TEC / 215 RXP / Speedster 200 2002-2007 | 278001969 / 278001581 / 15-110A

Robert
Quick delivery
Voltage Regulator Rectifier for Suzuki Boulevard C109 M109 R Burgman AN 650 1800 2003-2009
wesley reece
delivery was fast, I recommend this company
RMSTATOR

wesley reece
Part looks to be excellent quality, worked great. Now lets see how long it lasts. I would recommend this product.
Mitsuba 18-pole Generator Stator for Honda TRX 300 2x4 & TRX 300 FW Fourtrax 4x4 1988-2000

Anthony Landreth
Perfect solution to the cdi issue fast shipping great price quality purchase
Tested PeakRPM CDI Box for Honda NX650 1988 1989 | XR650L 1993-2024 | 30410-MN9-000 / 30410-MN9-003 / 30410-MN9-791
Eric Plute
Easy in and out shopping experance...
RMSTATOR

Eric Plute
Works great right out of the box no issues as of yet. I use alot of electricity on my build and it runs it all with minimal voltage drop... love this kit... strateforward easy install. I mounted the dual regulators on the roof of my sxs by the partical separator nade a couple ½ spacers out of scrap I had laying around for them to rest on.... never gets even warm to the touch... I had my doughts that this would fix my issues but I was proven wrong... thanks for males a product that actually works how it's supposed to....
Improved Magneto Flywheel Rotor for Polaris ACE 570 | General 1000 | Ranger / RZR 900 1000 XP 2013-2024 | 4013969

Anonymous
SO FAR SO GOOD. I BEEN DOWN THIS ROAD NOT EVEN 10 HOURS ON THE LAST REGULATOR. ALL I CAN SAY IS DO RESEARCH. THIS REGULATOR IS BETTER QUALITY THAN MOST. TAKES HIGHER TEMPS .
65A H.Duty MOSFET Voltage Regulator for Polaris Ranger / RZR / Sportsman 500 850 900 1000 2014-2024 | 4013978 / 4016868

Andreaz
Worked flawlessly, high quality, easy install, thanks RMStator!
Stator + Flywheel + Gasket for Yamaha FZ1 / FZS1 | FZ8 800 | YZF R1 2004-2015 | OEM# 2SH-81450-00-00 / 2D1-81410-10-00
Mirko Parodi
Thanks!
RMSTATOR

Mirko Parodi
Thanks!
Mosfet Voltage Regulator Rectifier for Yamaha YZF R1 1000 2004-2006 | OEM Repl.# 5VY-81960-00-00
Ethan Brink
Good quality fast shipping
RMSTATOR

Ethan Brink
Works as it should
Generator Stator for Yamaha YXZ 1000 R / EPS / SS 2016-2018 YXZ1000R | # 2HC-81410-00-00

Anonymous
Great fit and works like a charm
Improved Capped Magneto Flywheel Rotor for Suzuki LTF LTA 500 F Vinson Quadrunner Arctic Cat 500 TBX TRV 500 1998-2009 | 3430-046

Nikolas Decker
I have a dual carb, 1995 Seadoo XP with a 720cc engine. This rectifier worked great and was 100% compatible with my ski.
Voltage Regulator Rectifier for Sea-Doo 580 GT GTS GTX SP SPI XP 650 SPX XP 720 GTI GTS HX XP 1990-2001
Universal Products

RMSTATOR SKU RM10001
Universal Fit
Fits your ride
Voltage Peak Reading Adapter DVA Adapter for Multimeter Probes
In Stock

RMSTATOR SKU RMS200-104819
Universal Fit
Fits your ride
11 pcs connector Terminal Removal / Pin Puller Extractor Tool
In Stock

RMSTATOR SKU RM10002
Universal Fit
Fits your ride
Professional Grade Ratchet Wire Crimping Tool Pliers 9 inches
In Stock

RMSTATOR SKU RM22980
Universal Fit
Fits your ride
Kit Digital Multimeter + Voltage Peak Reading DVA Adapter
In Stock
RMSTATOR SKU RMS200-106165
Universal Fit
Fits your ride
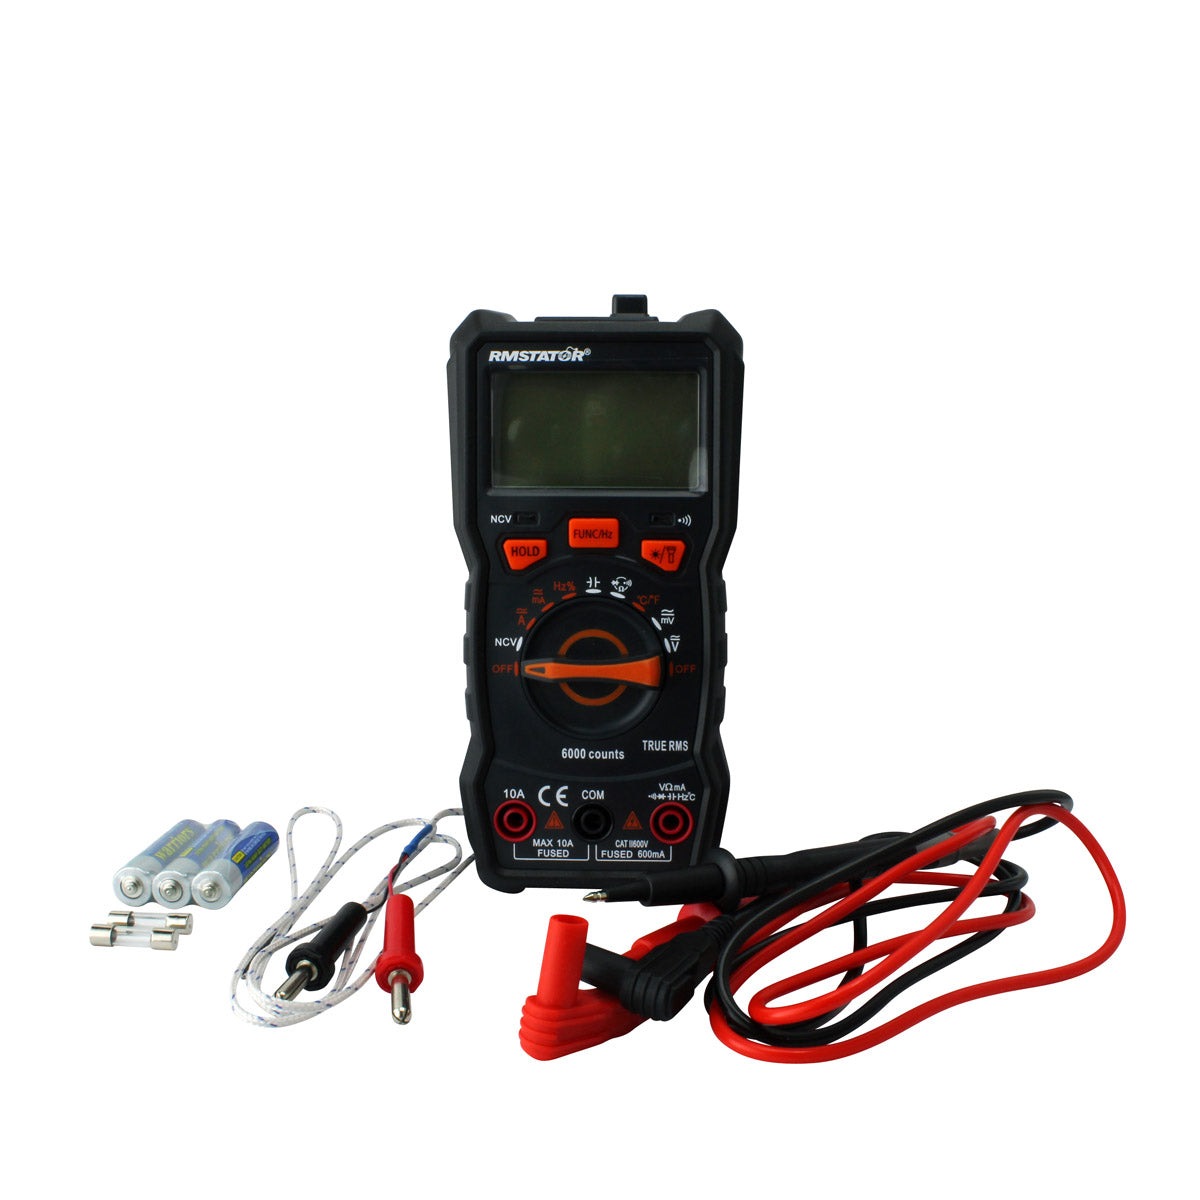
Digital Multimeter DC / AC Voltage Resistance Diode Transistor Continuity Test
In Stock

RMSTATOR SKU RMS200-102963
Universal Fit
Fits your ride
Brand New Soldering Station Universal Tool 110 V / 70 W
In Stock
RMSTATOR SKU RM10008
Universal Fit
Fits your ride
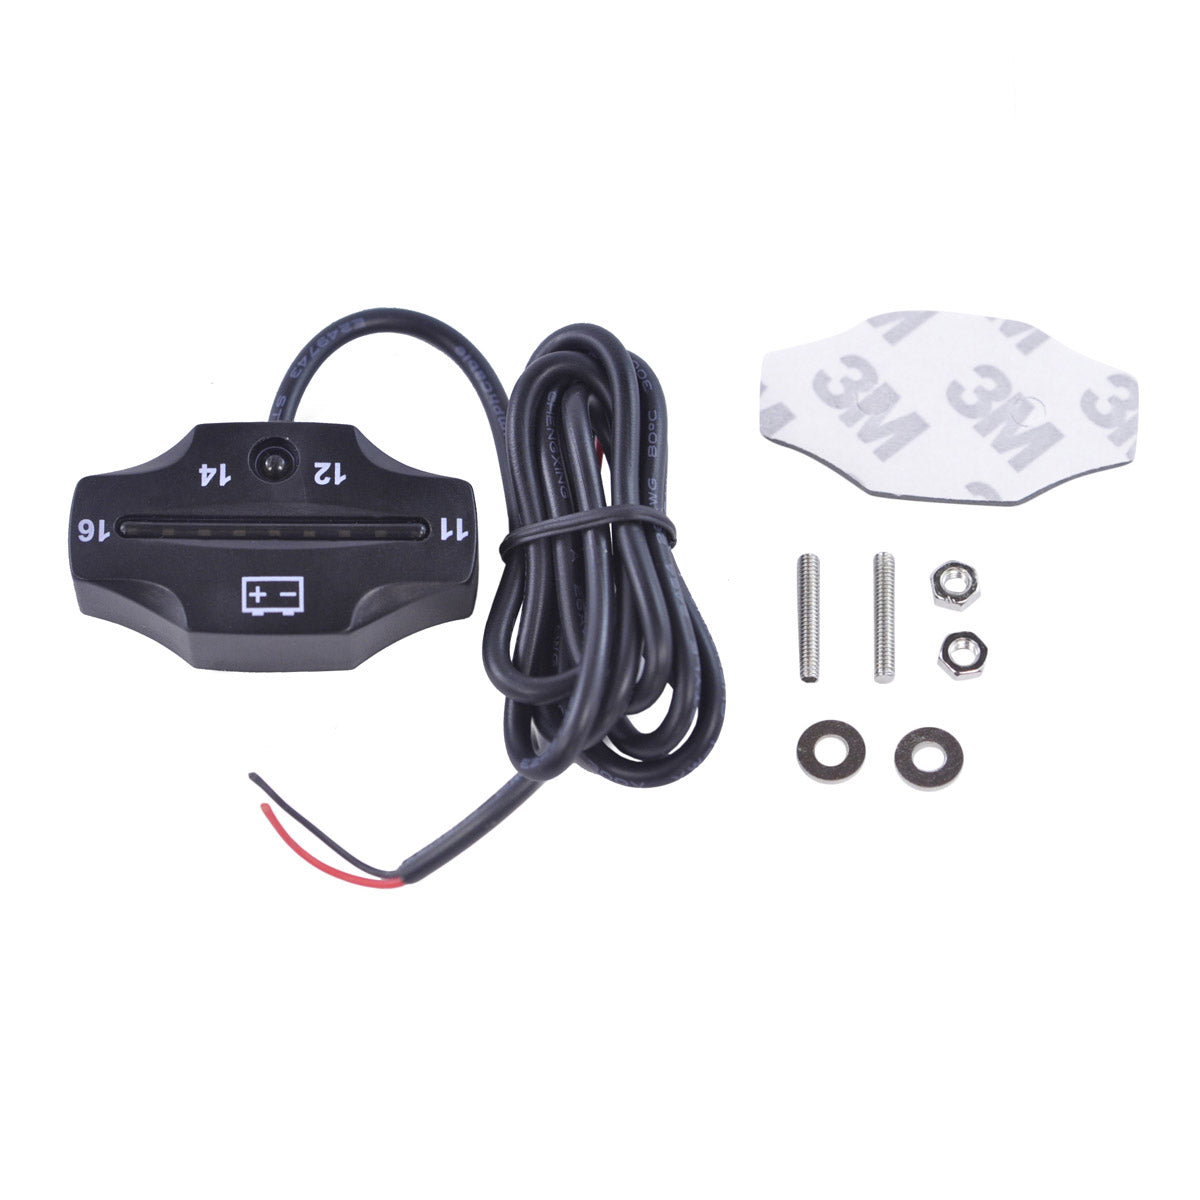
Universal Battery Volt Meter with Small Digital LED Display Charging Circuit Monitor and Waterproof Case 11V-16V
In Stock

RMSTATOR SKU RMS200-103923
Universal Fit
Fits your ride
Universal 12 Volts Digital Battery Tester / Charging System Analyzer
In Stock
Recently Viewed
You may also like
Have a question?
Our customers are our most important asset, we are here to help you in real time! Call us now, or connect with a specialist via email.
